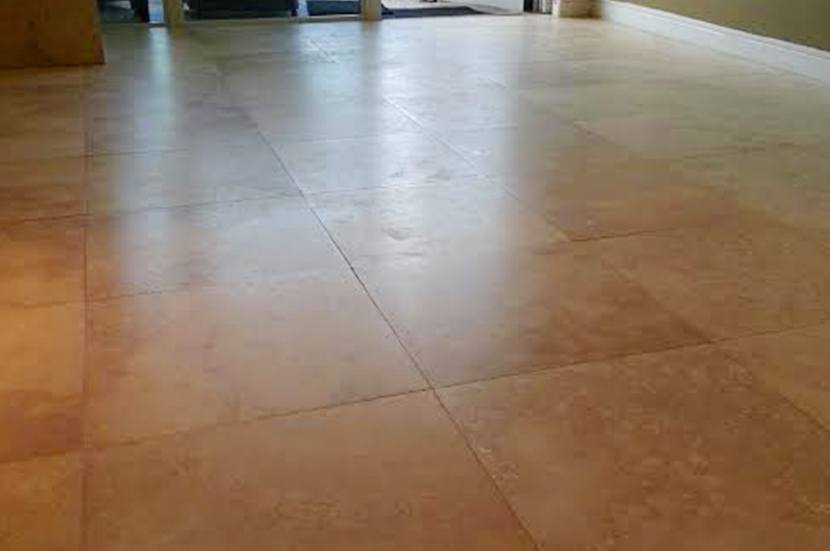

Travertine floor honed, repaired, holes filled, sealed
The problem
When this travertine floor was first installed eight or nine years ago, the installers left residue from grouting all over the floor. This chalky residue filled all the little micropores in the surface of the travertine and really distorted the overall look of the floor. With normal day to day wear and tear, the floor also became lightly etched and scratched, and some of the holes that naturally occur throughout travertine had became exposed. The first image shows the condition of the floor before the restoration process. Notice how dull and muted the finish looks and how it really lacks luster.
Our restoration process
Travertine floor honing was our first step. As we honed the stone, all the light etches and scratches disappeared and the brand new floor underneath the damaged surface was revealed. Next, we cleaned the grout and filled in the holes in the floor with epoxy. Our last step was travertine floor sealing, to protect against stains. As you can see in the second image, the floor turned out great. After our restoration process, it looked much more warm and inviting, with a softer appearance and a richer color. The owners said that the floor looked even better than the day they moved in!
We love referrals
Since then, we have restored dozens of marble and travertine floors in the Pinnacle Marina Tower. Apparently, word gets around that Set-In-Stone Restoration performs high-quality natural stone restoration.
For more information about travertine restoration, such as etch removal, lippage removal (leveling uneven tiles), crack and chip repair, stain removal, sealing, filling naturally-occurring travertine holes, as well as honed, slightly polished, or high-gloss polished finish, watch one or more of these short videos: Floating Travertine, Travertine Strip, Hone, and Repolish, and Travertine Repair, Restoration, and Polishing or visit our Travertine Services page.


